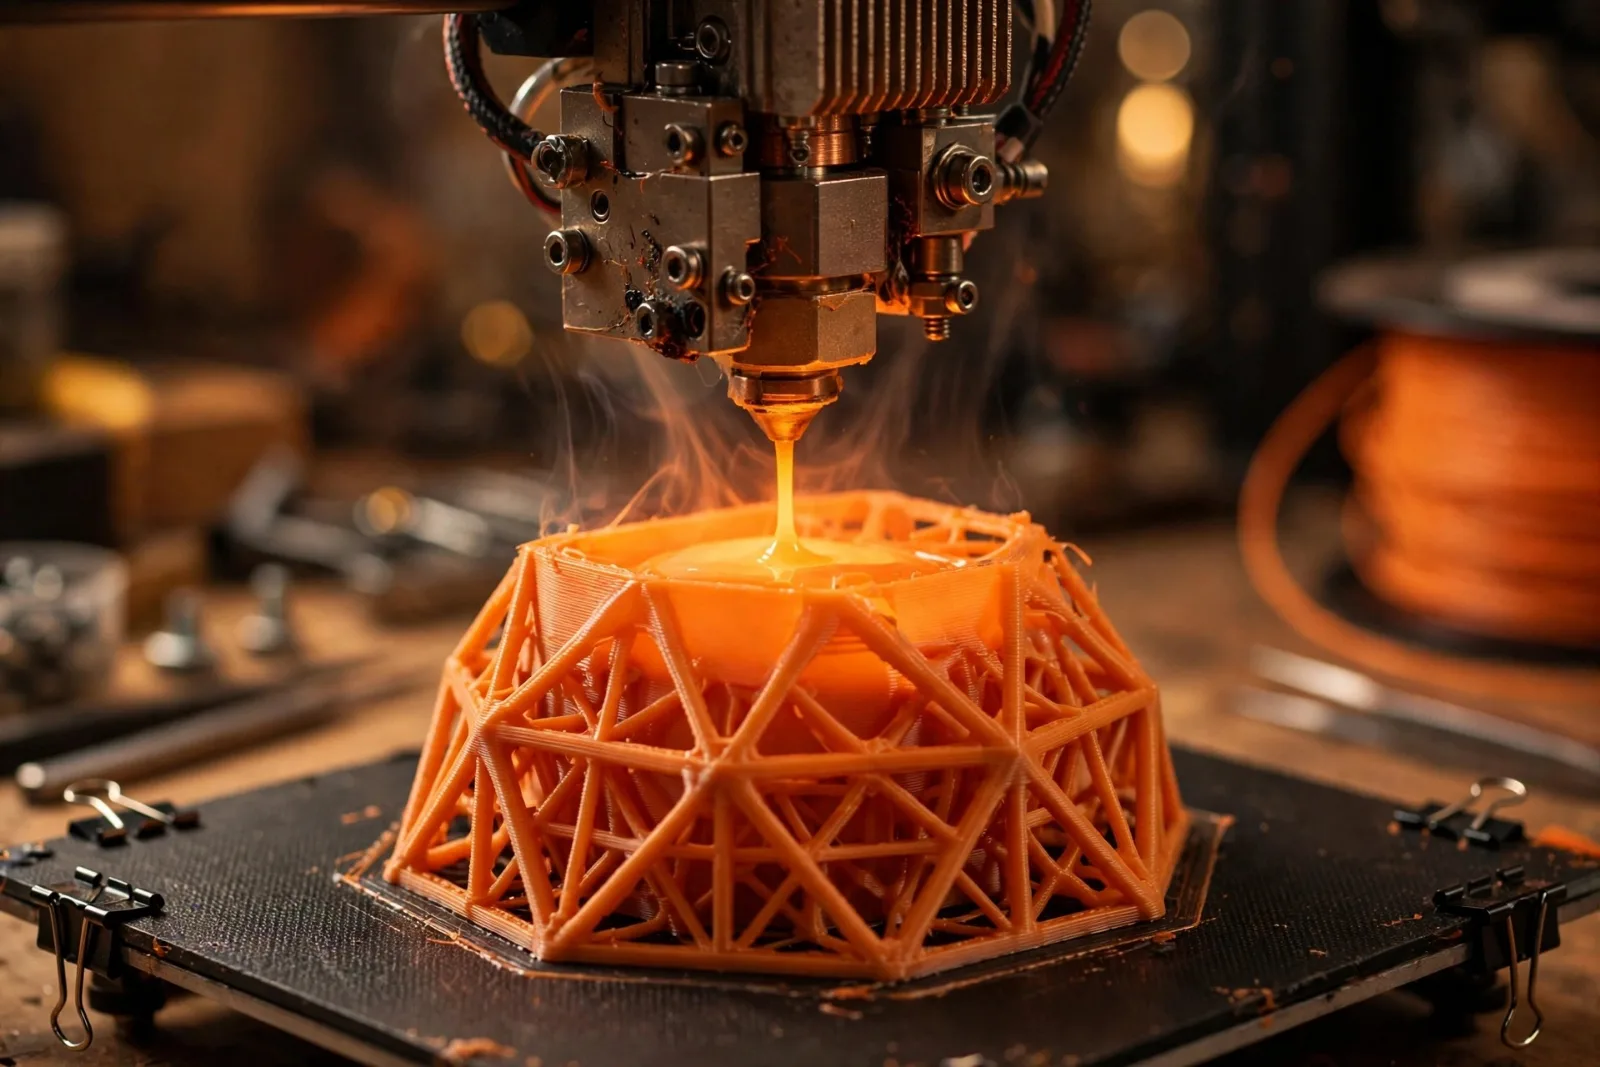
A 3D printer looks like it is doing something impossible: it starts with an empty build plate and a spool of plastic, and a few hours later there is a working wrench, a chess piece, or a replacement part for your dishwasher. The secret is that it never tries to make the whole object at once. It builds it one paper-thin layer at a time, stacking hundreds or thousands of slices until the shape emerges. The process is called additive manufacturing — adding material only where it is needed, instead of cutting it away from a bigger block.
From a file to a physical object
Every print follows the same four steps:
- The model. Someone designs a 3D shape in CAD software, or downloads one from a library. The file describes the object's surfaces as a mesh of tiny triangles.
- The slicer. Software chops the model into horizontal layers — typically 0.1 to 0.3 millimetres thick — and works out the exact path the printer must follow for each one. The output is a file of machine instructions called G-code: move here, heat to this temperature, push out this much material.
- The print. The printer follows the G-code, building the object from the bottom up, one layer at a time. Each new layer bonds to the one beneath it.
- The finish. The part comes off the build plate, support structures are snapped away, and resin prints get washed and cured under UV light.
That middle step — the slicer — is where most of the craft lives. Layer height, print speed, temperature and infill density are all choices that trade detail against time and strength.
FDM: the hot glue gun that learned to draw
The most common home printer type is FDM (Fused Deposition Modelling). It works like a very precise hot glue gun. A spool of plastic filament — usually 1.75 mm thick — is fed by an extruder into a heated nozzle called a hotend. The nozzle melts the plastic and lays it down in thin lines, tracing each layer's shape. The nozzle moves left-right and front-back while the build plate (or the nozzle) steps down a fraction of a millimetre for the next layer.
The most popular filament is PLA, a corn-starch-based plastic that prints at 190–220 °C with a build plate at 50–60 °C. It is easy to print, barely warps and is biodegradable — which is why it is the beginner's default. ABS, the plastic of Lego bricks, needs 230–250 °C and a heated bed at 90–110 °C, and it is tougher but warps more easily. PETG sits in between: stronger than PLA, easier than ABS.
A standard nozzle is 0.4 mm wide. Thinner layers (0.1 mm) give smoother surfaces and finer detail but take much longer; thicker layers (0.3 mm) print fast but show visible ridges. A print that takes two hours at 0.2 mm layers could take five at 0.1 mm — the same object, just sliced finer.
FDM has two weaknesses worth knowing. First, overhangs: plastic cannot be printed in mid-air, so anything sticking out beyond about 45° needs temporary support structures that are snapped off later. Second, anisotropy: a printed part is weaker across its layers than along them, because each layer is only bonded to its neighbour, not fused through. Design around it, and FDM parts are surprisingly strong.
For more on this, see our explainer on restarting.
SLA: hardening liquid with light
The second big home technology is SLA (stereolithography), or resin printing. Instead of melting plastic, it cures it with light. A build plate dips into a vat of liquid photopolymer resin, and a UV light source — a laser, or more commonly an LCD screen shining UV light at around 405 nanometres — hardens one layer at a time. The plate lifts a fraction, fresh resin flows underneath, and the next layer cures.
Resin prints at much finer layers than FDM: 0.025 to 0.1 mm, which is why miniature figures and jewellery prototypes come out smooth, with details a filament printer could never manage. The trade-off is mess and effort. The parts come out coated in uncured resin, so they must be washed in solvent and then cured under UV light before they are safe to handle. Resin is also a skin irritant, so gloves are not optional.
For more on this, see our explainer on GTA 6.
SLS: fusing powder with a laser
The third technology, SLS (Selective Laser Sintering), is mostly industrial. A laser fuses powdered material — usually nylon — into solid layers, one thin spread of powder at a time. The unsintered powder supports the part as it grows, so SLS prints need no support structures at all, and the parts are strong in every direction. The machines cost tens of thousands of dollars, so you will meet SLS parts in factories and service bureaus rather than on a desk at home.
The three technologies compared
| FDM | SLA (resin) | SLS (powder) | |
|---|---|---|---|
| How it builds | Melts plastic filament through a heated nozzle | UV light cures liquid resin, layer by layer | Laser fuses powdered nylon |
| Typical layer height | 0.1–0.3 mm | 0.025–0.1 mm | 0.06–0.15 mm |
| Best for | Functional parts, prototypes, beginners | Miniatures, jewellery, fine detail | Strong parts, complex shapes, no supports |
| Cost | Cheapest machines and materials | Mid-range; resin costs more | Expensive, mostly industrial |
| Downsides | Visible layer lines; weaker across layers | Messy post-processing; resin is toxic uncured | High cost; rough surface finish |
What 3D printing is actually good at — and what it is not
3D printing shines at one-offs and complexity: a custom bracket, a replacement knob, a prototype you need tomorrow. It is terrible at mass production — printing 10,000 identical bottle caps would take weeks and cost far more than moulding them. It is also slower than most people expect: a phone-sized part at fine detail can take 8–12 hours, and the printer cannot be hurried without the quality collapsing.
The technology is quietly everywhere already. Dentists print aligners and crowns, engineers print prototype housings overnight, hospitals print surgical guides matched to a single patient, and factories print jigs and fixtures that would take a machine shop days. The desktop printer on a hobbyist's desk and the industrial machine in a factory are the same idea at different scales — and both are driven by the same four steps: model, slice, print, finish. If you want the factory side of the story, see how robots are moving beyond the factory floor — and for the chips running the printer's brain, how CPUs actually work.
Takeaway checklist
- 3D printing is additive — it builds objects layer by layer from the bottom up, adding material only where needed.
- The slicer does the thinking — it turns a 3D model into G-code, choosing layer height, speed and temperature.
- FDM melts filament — PLA at 190–220 °C through a 0.4 mm nozzle is the beginner's route; layers are 0.1–0.3 mm.
- SLA cures resin with UV light — far finer detail (0.025–0.1 mm layers) but messy post-processing and gloves required.
- SLS fuses powder with a laser — strong, support-free parts, but industrial prices.
- Mind the overhangs — anything beyond ~45° needs supports, and parts are weaker across their layers.
- Best for one-offs, not mass production — a custom part tomorrow beats 10,000 identical parts next month.